
Exploring Lithographic Printmaking
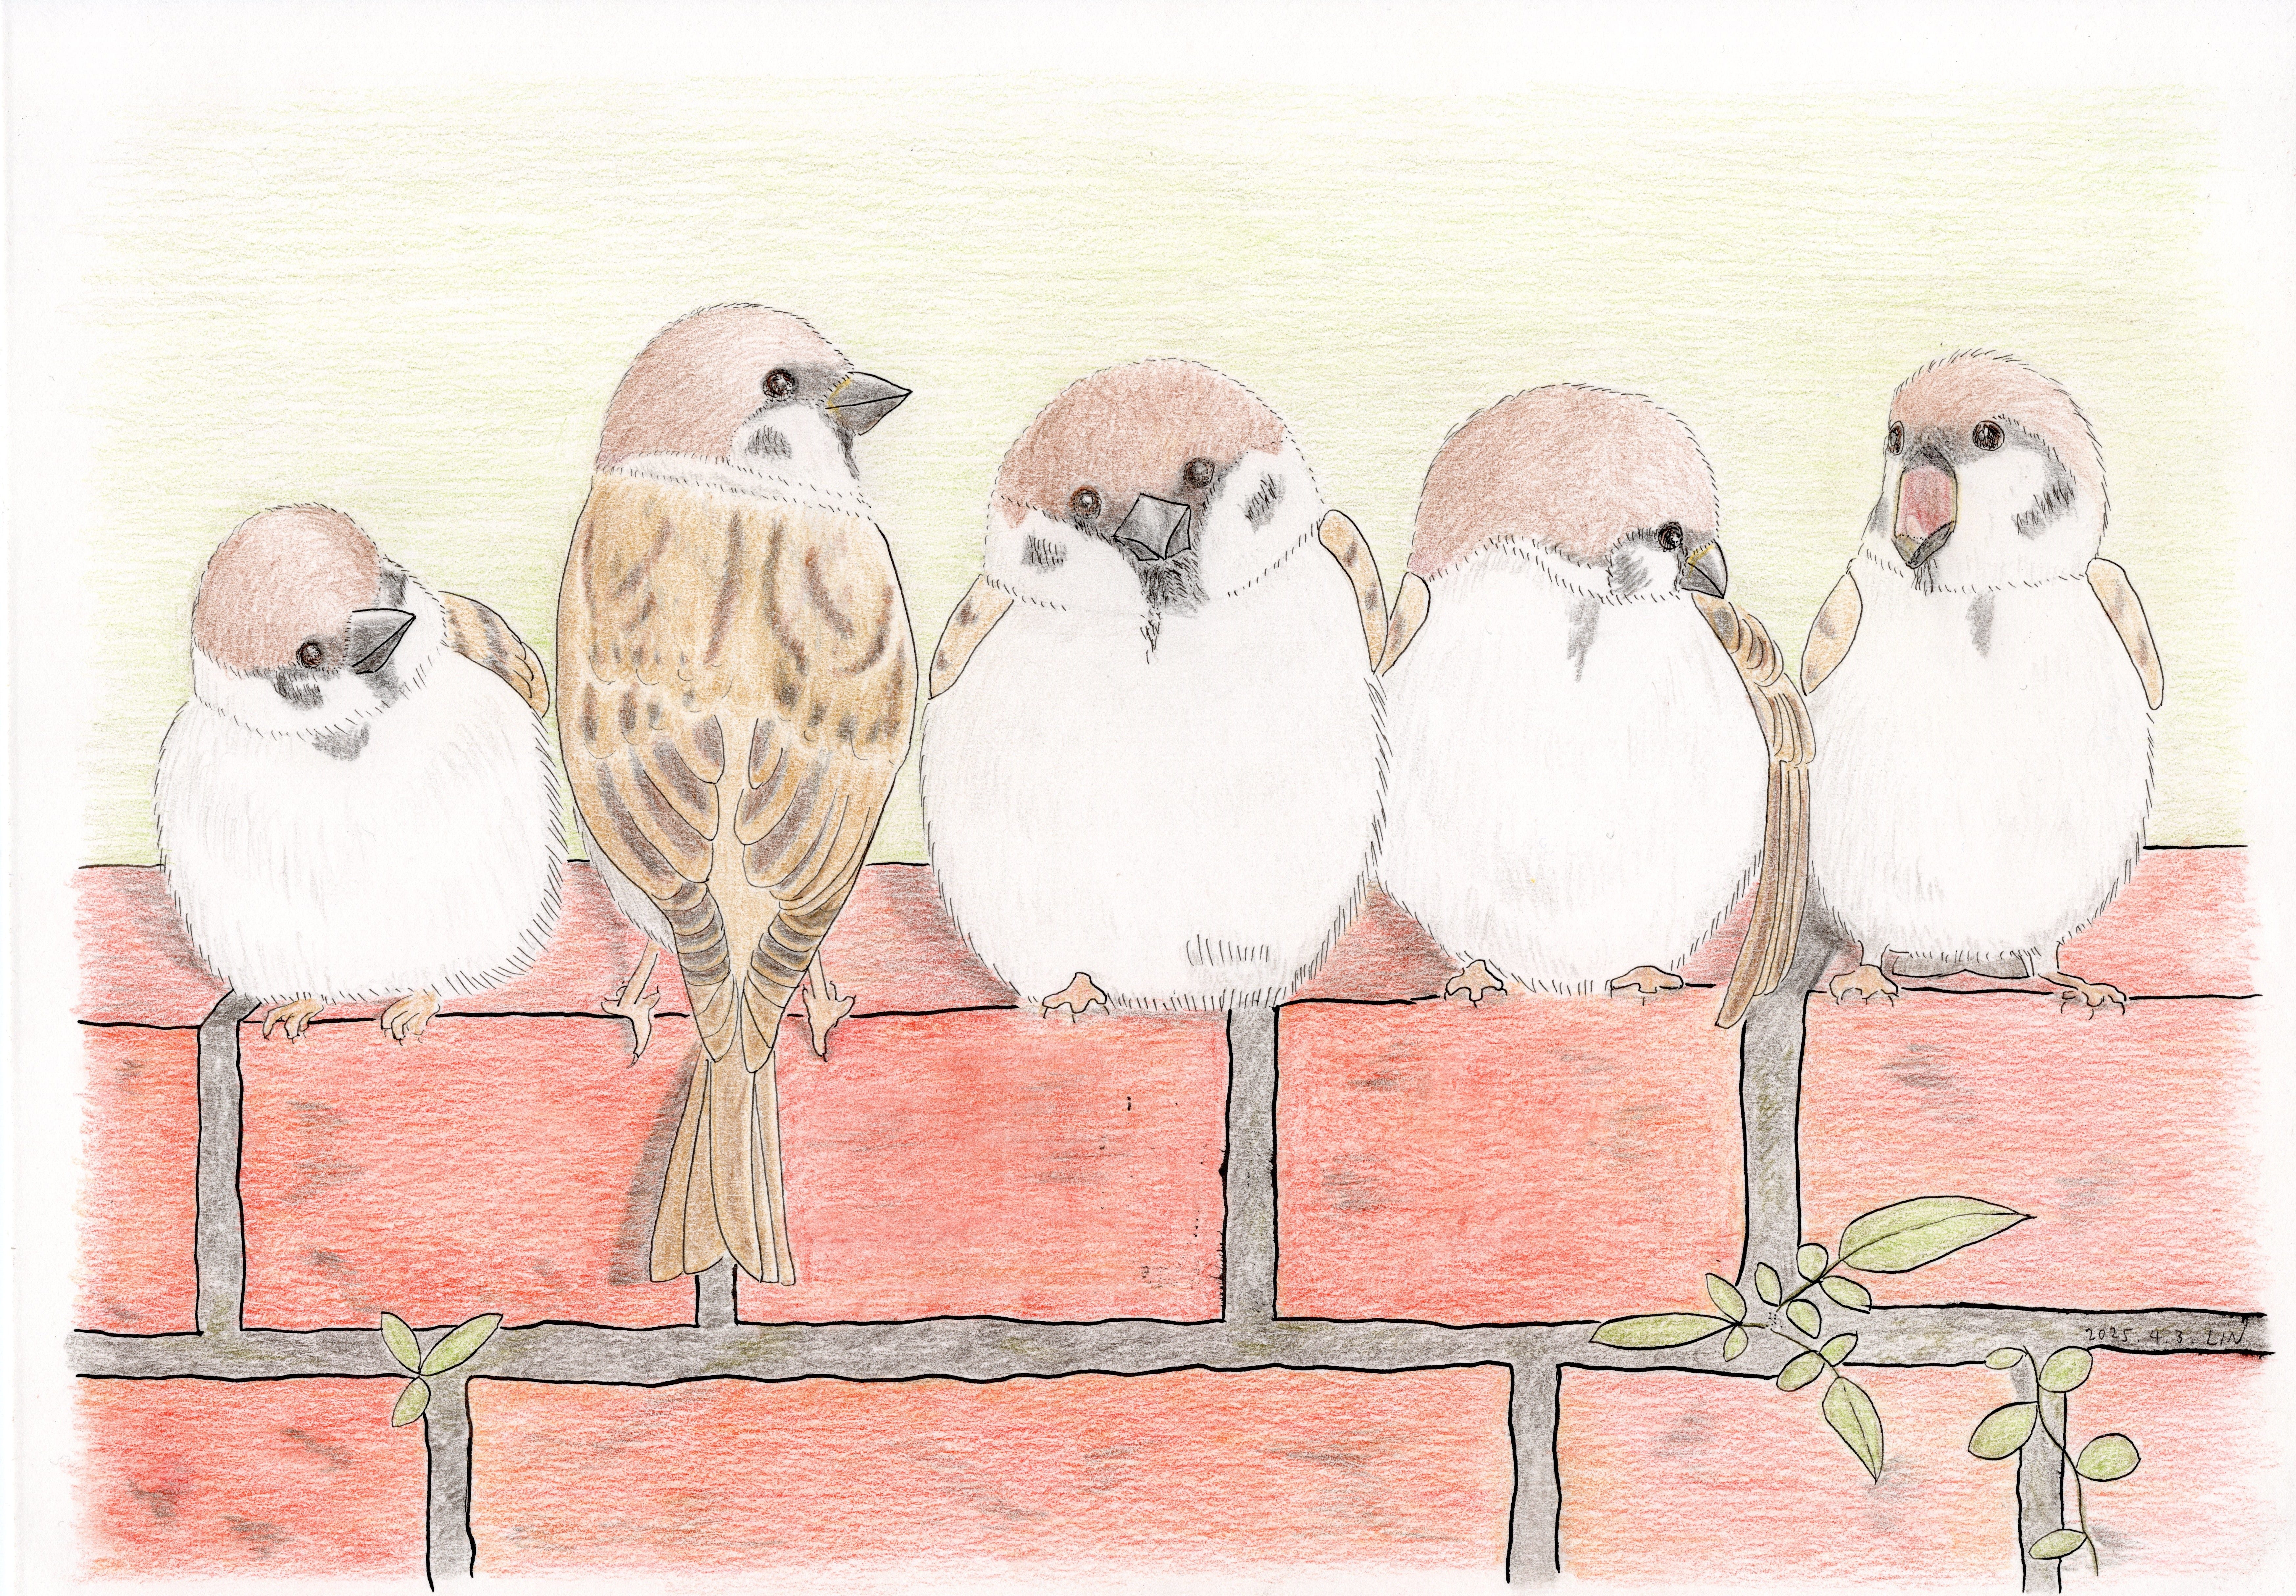
Five Sparrows on a Brick Wall

I’m happy to share some exciting news: I’ve been admitted to the PhD program in History at National Taiwan University, and I’ll be returning to school as a student this September!
Before the semester begins, I have a bit of free time, so I took the opportunity over the past two months to learn lithographic printmaking. I’d like to share some of my practice pieces and thoughts in this post.
《翻譯鳥事一籮筐》是中英文雙語電子報。如果只想收到中文版,請到網站右上角的「My Account」內進行操作。有任何問題都歡迎來信聯絡,請直接回覆這封 E-mail 或寫信到 transcreation@substack.com。再次感謝你的訂閱支持!
這篇文章的中文版在這裡。
My interest in learning lithographic printmaking (as well as my earlier experience learning how to make bird specimens) is actually related to the topic I plan to research in my PhD program. I intend to study the history of ornithology in the 19th century, so in addition to reading historical texts, I also hope to gain some hands-on understanding of the relevant techniques.
Lithography was an important printing method in the 19th century (and remains significant today). It offered greater efficiency in both plate-making and printing compared to intaglio techniques. That said, the actual process turned out to be more physically demanding than I had expected—which also gave me a deeper appreciation of why illustrated bird books, such as Birds of Asia, were so expensive.
Before signing up for the class, I had actually looked up some materials and videos, but I still felt like I only had a vague understanding. In the end, I decided to try it out myself.
Lithographic printing uses the principle that oil and water repel each other. The surface is treated so that certain areas become oil-receptive (these areas will hold the ink and form the image), while other areas are water-receptive (which repel the ink). To prepare the plate, draw the image using special lithographic crayons (or oil-based materials)—this part is similar to drawing. Then, apply talcum powder and rosin powder in sequence to fix the image. Next, apply a layer of acid-containing gum arabic. After a few minutes of chemical reaction, the plate’s surface develops contrasting properties: hydrophilic in the non-image areas and oleophilic in the image areas.
Next, seal the plate with pure gum arabic to complete the first etching. After letting it sit for at least half a day, perform a second etching. The steps are similar: remove the image with kerosene, apply liquid asphaltum, blow dry, then wash thoroughly with water (to remove oil and gum arabic), apply some water, roll on lithographic ink, and seal the plate again (by drying, applying powder, and applying gum arabic). After the second etching, the plate is again left untouched for at least half a day to stabilize. The plate is then ready for printing.
The plate-making process can be completed in as little as one day, after which we can start printing. Each print requires the following steps: applying water to the plate, rolling on the ink, blow-drying, placing the plate onto the press, aligning the paper, adjusting the pressure, and then printing the image.
The videos above show stone lithography process, but what I actually worked with was ball grained aluminum plates. The principle is the same, though the texture of the final image is slightly different. The design I created features five sparrows perched on a red brick wall, divided into three plates: a main plate that outlines the drawing, a red plate that prints the bricks and sparrows’ base color, and a green plate for the background and the ferns and moss on the wall. To create a brown tone, the green area also overlaps with the sparrows, blending with the red to achieve the desired color.
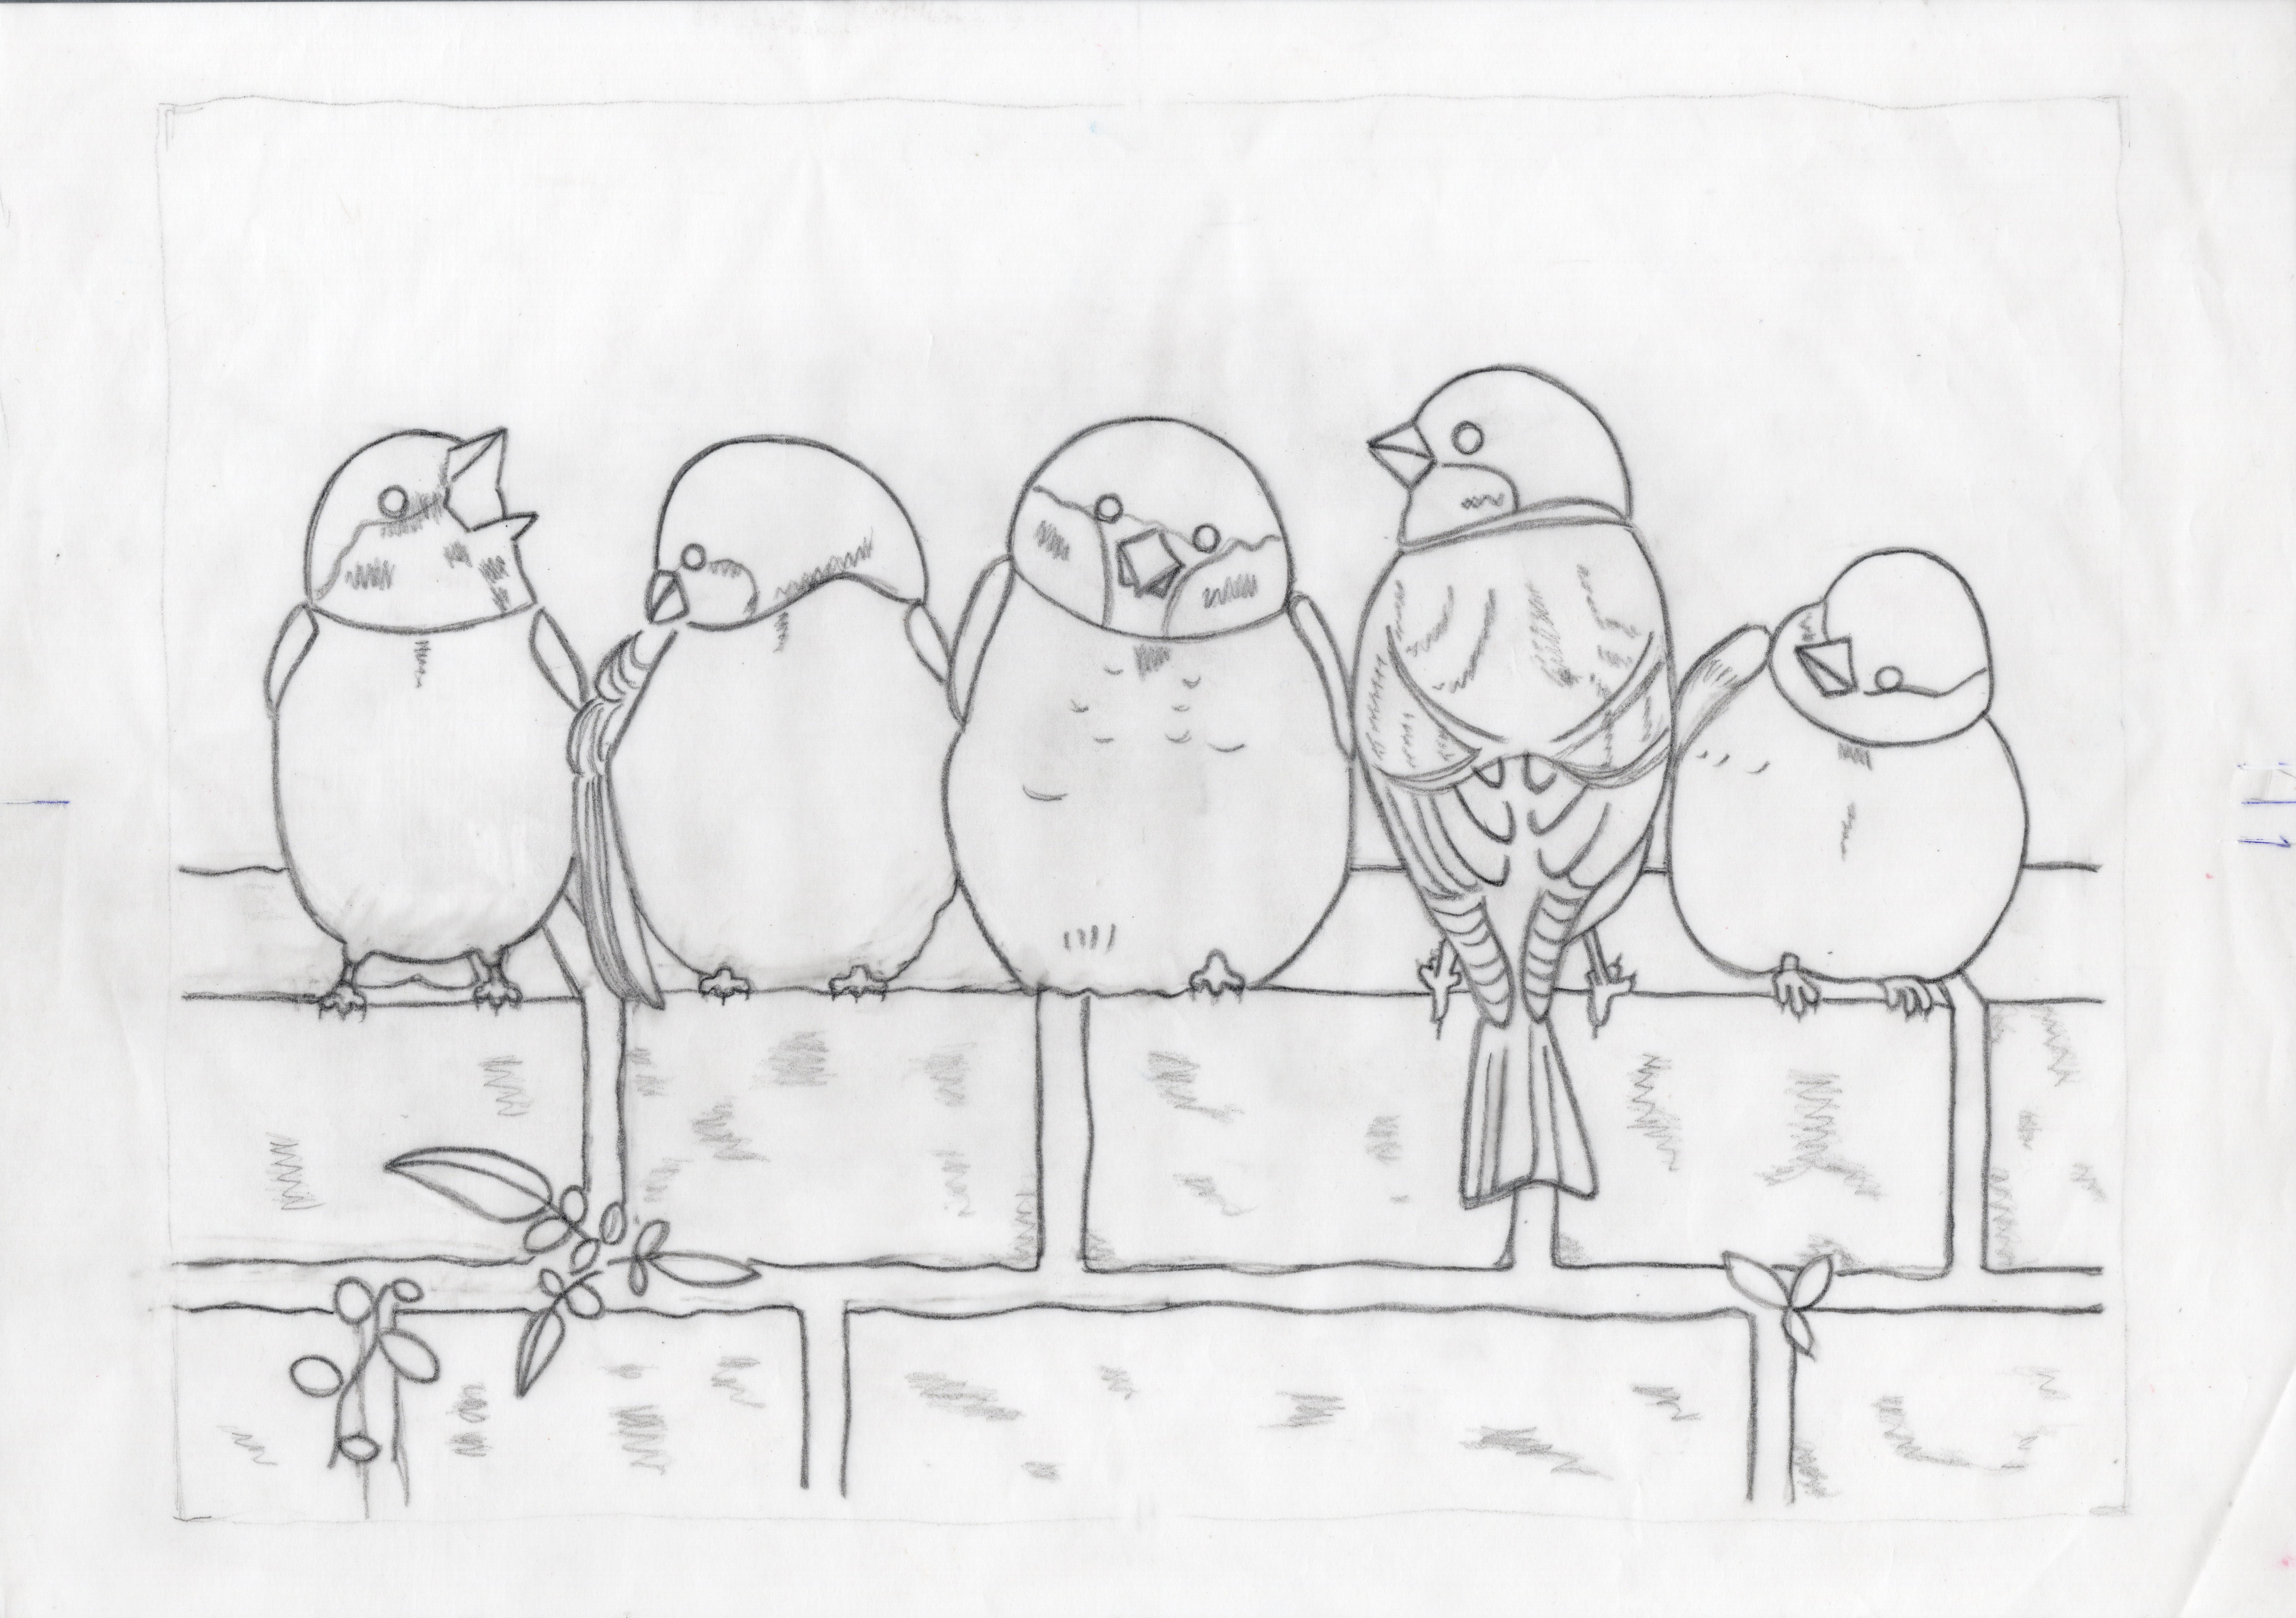
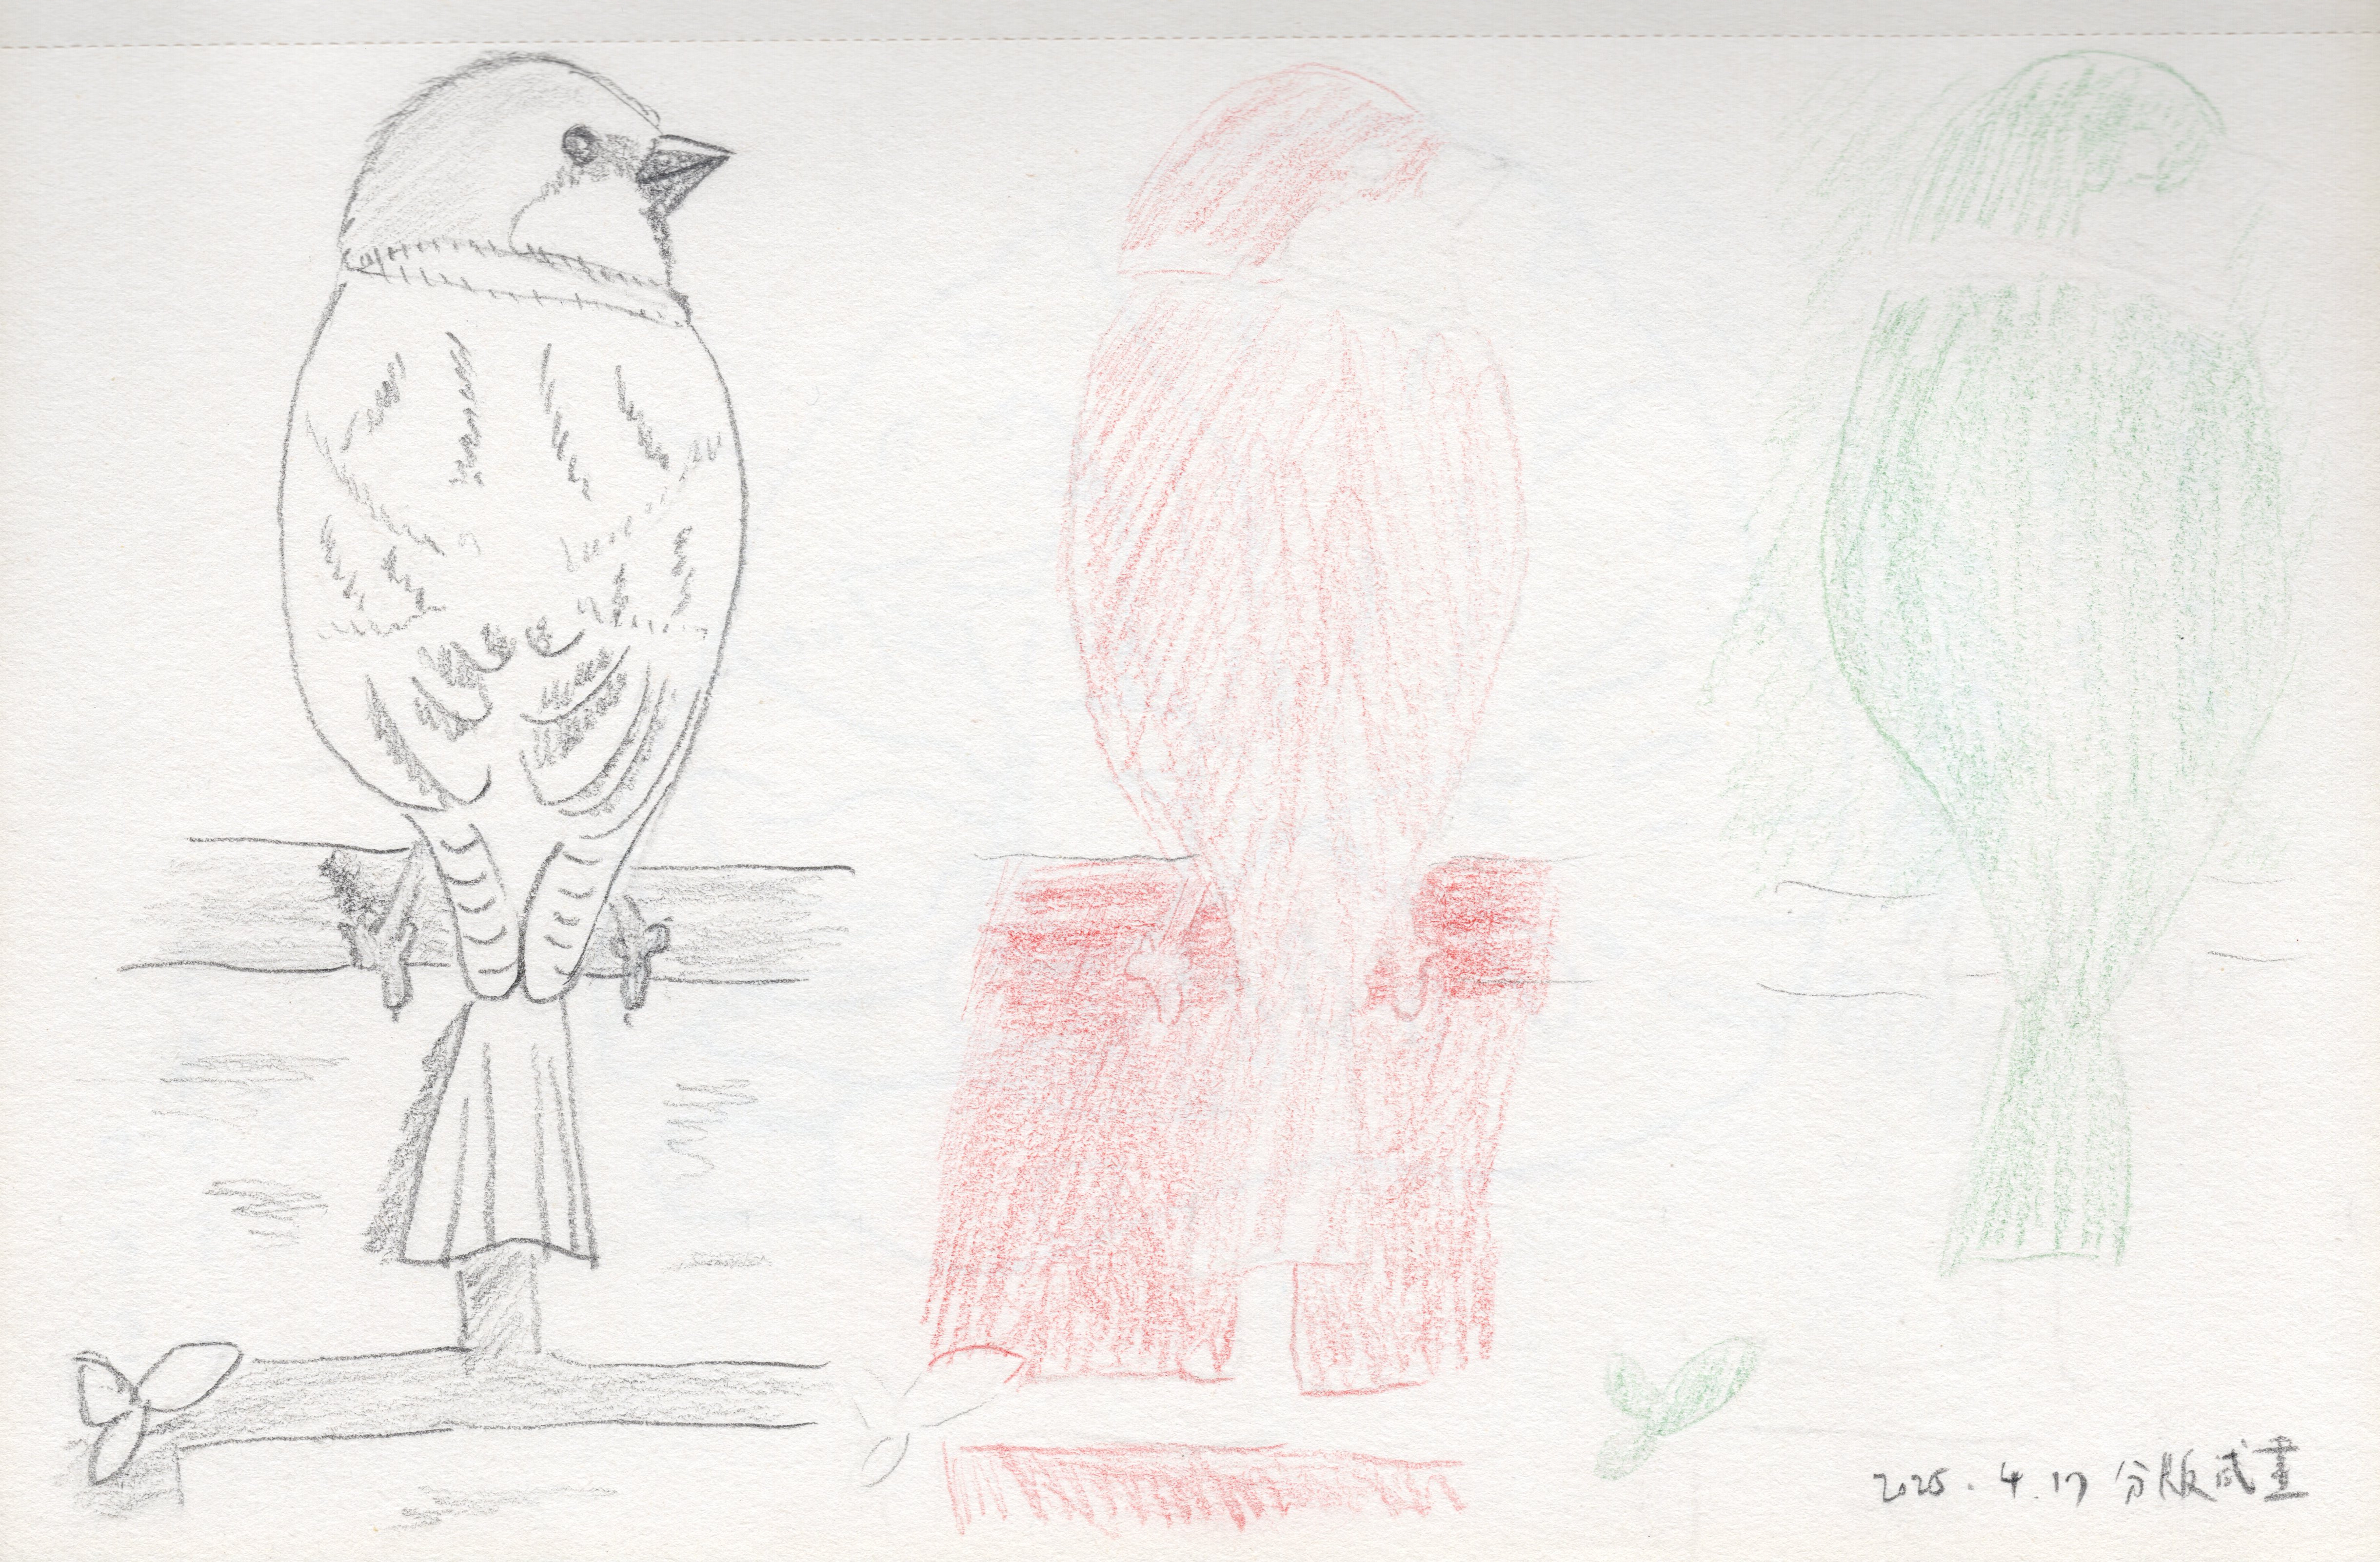
After completing the drawings for the three plates based on the color separation design, I began the platemaking process by applying powder and gum. Although the steps are repetitive, I wasn’t able to fully memorize them and even accidentally reversed two of them—resulting in some areas turning out differently than I had originally intended. On the bright side, the mistakes probably helped me gain a deeper understanding of the purpose behind each step.
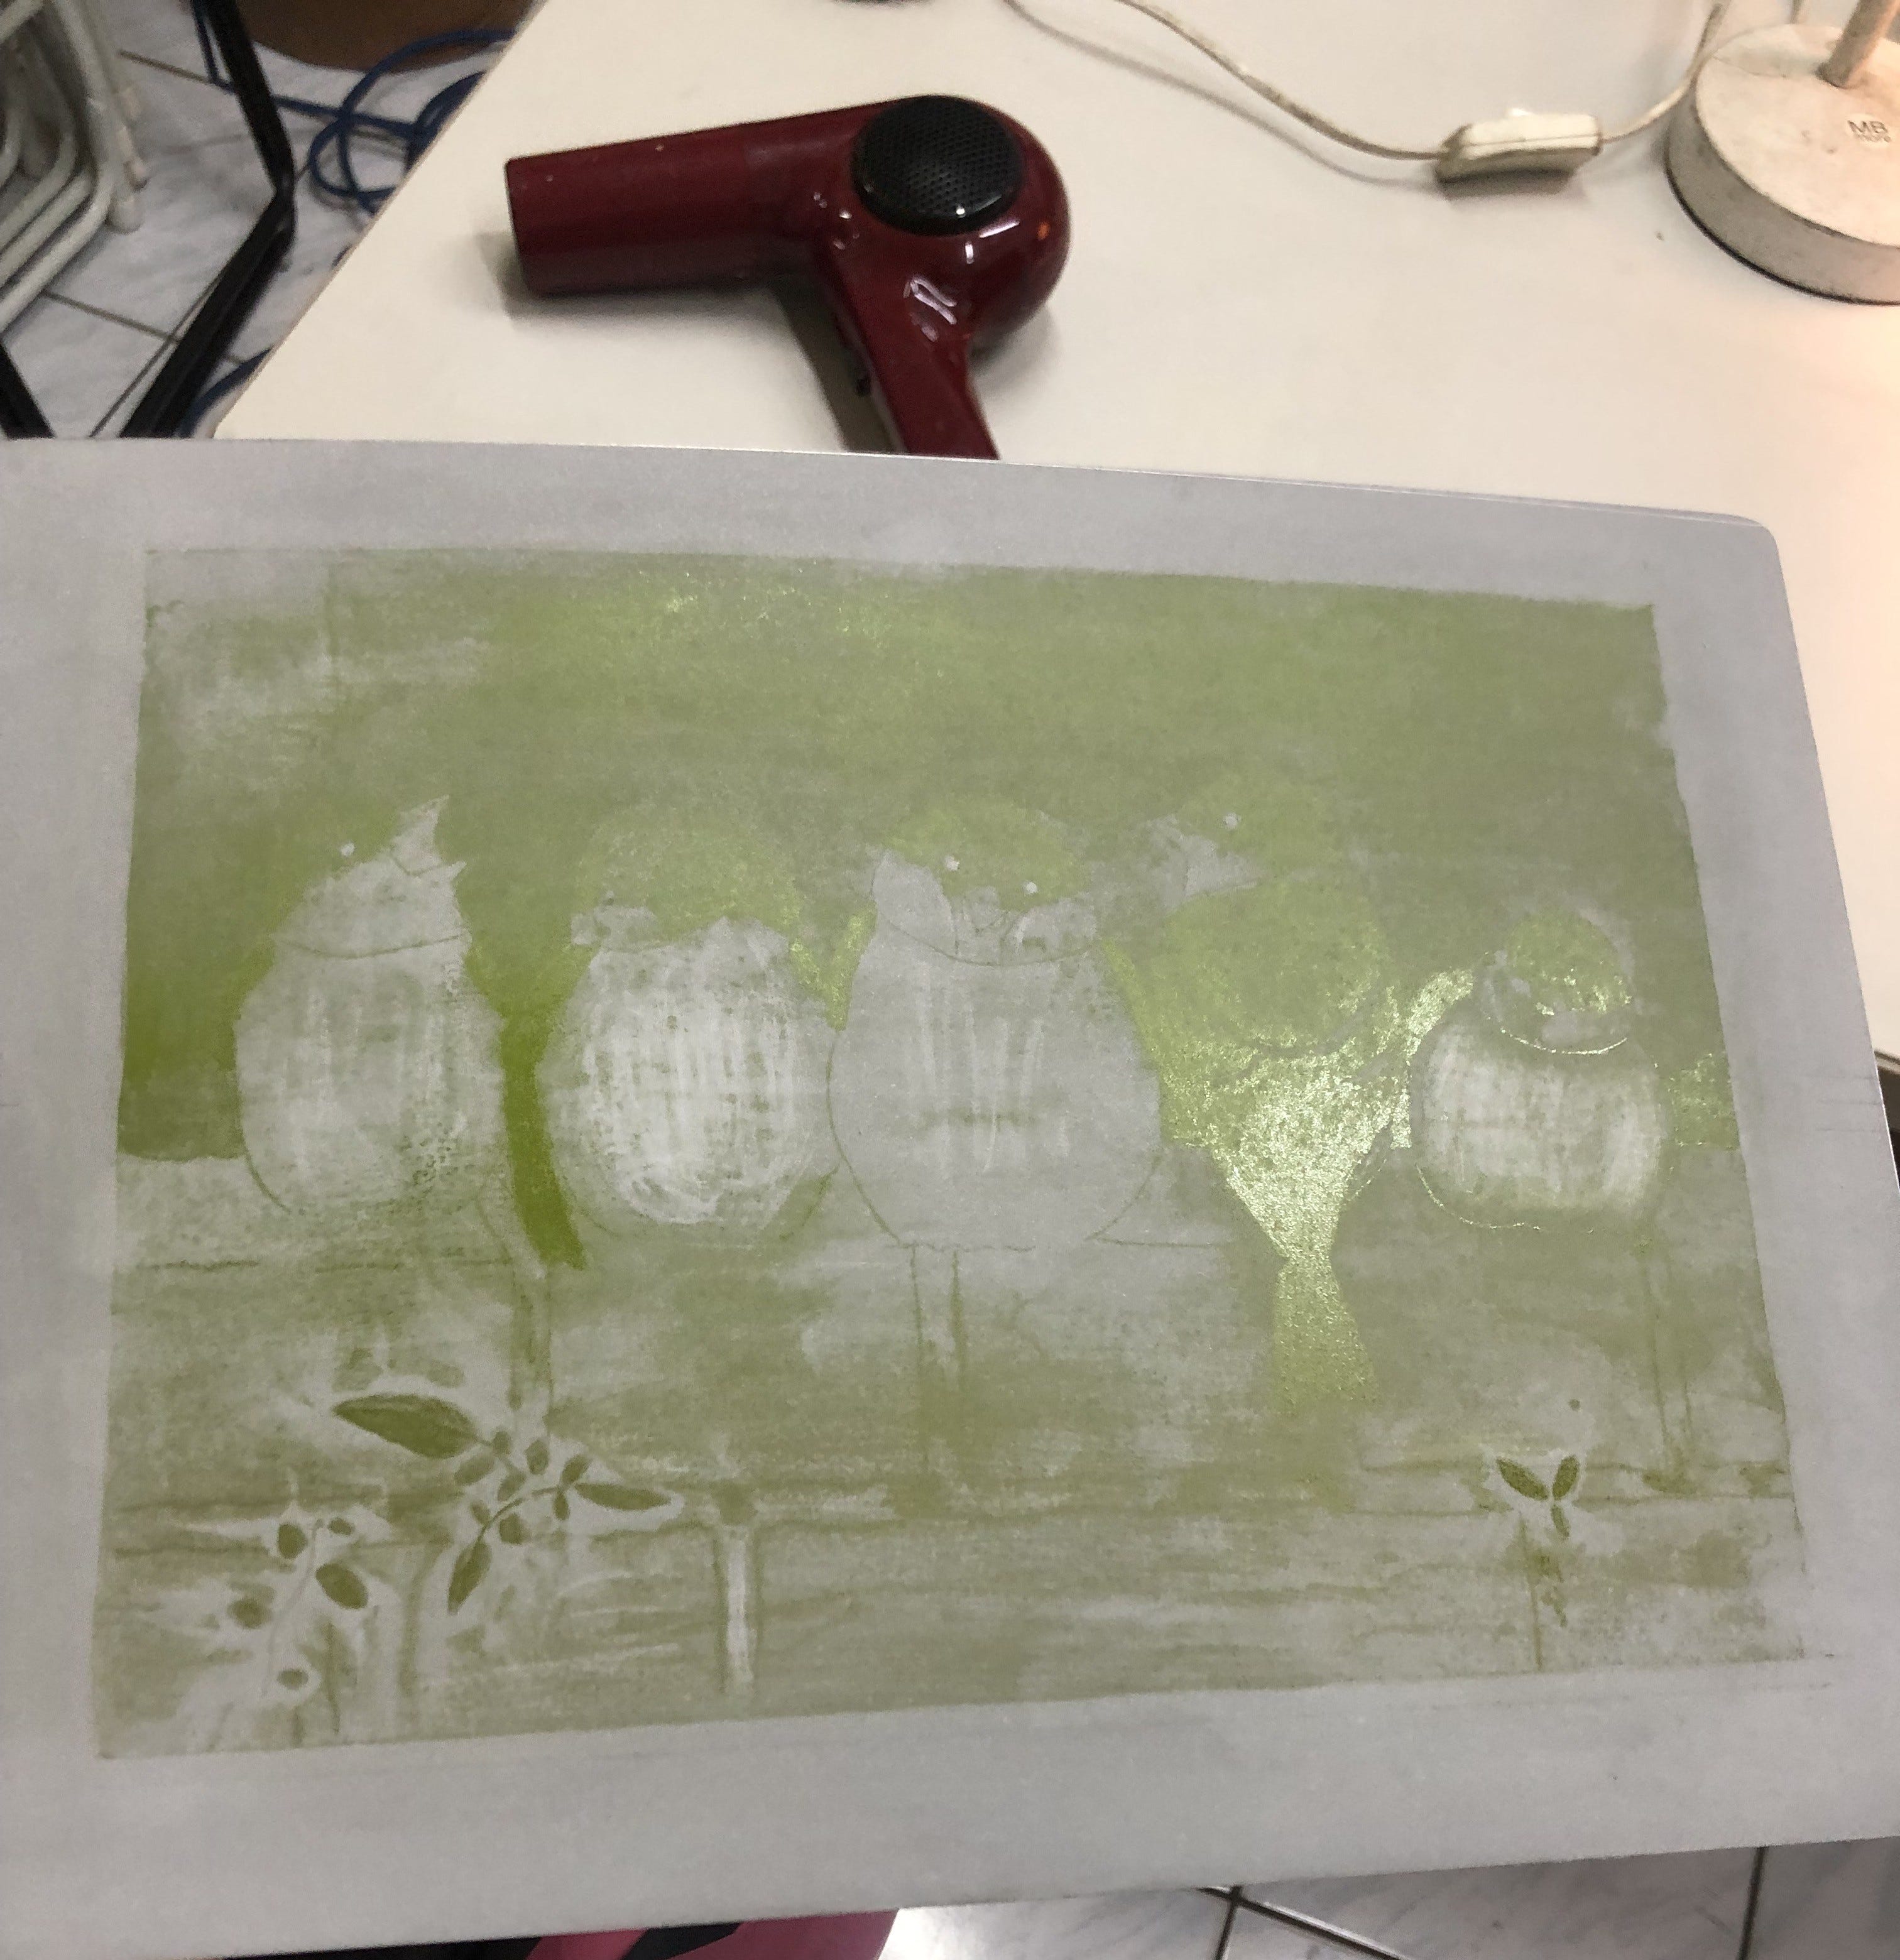
With the platemaking finished, I began the printing process. As mentioned earlier, the steps involve applying water, rolling on ink, drying, placing the plate on the press, and aligning the paper for printing. However, some steps turned out to be more physically demanding than I had expected. For example, inking the plate requires rolling back and forth several times with precise control of pressure. I needed to apply enough force while placing down and lifting off the roller smoothly—otherwise, it would leave a streak and dirty the plate. If the pressure was too light or too heavy, the ink wouldn’t transfer properly. Even after watching the instructor demonstrate the process multiple times, I still found it difficult to get the feel right. As for drying, using a hairdryer makes things much easier today, but traditionally, a handheld fan was used—I imagine one’s arms would get sore even before the plate was fully dry.

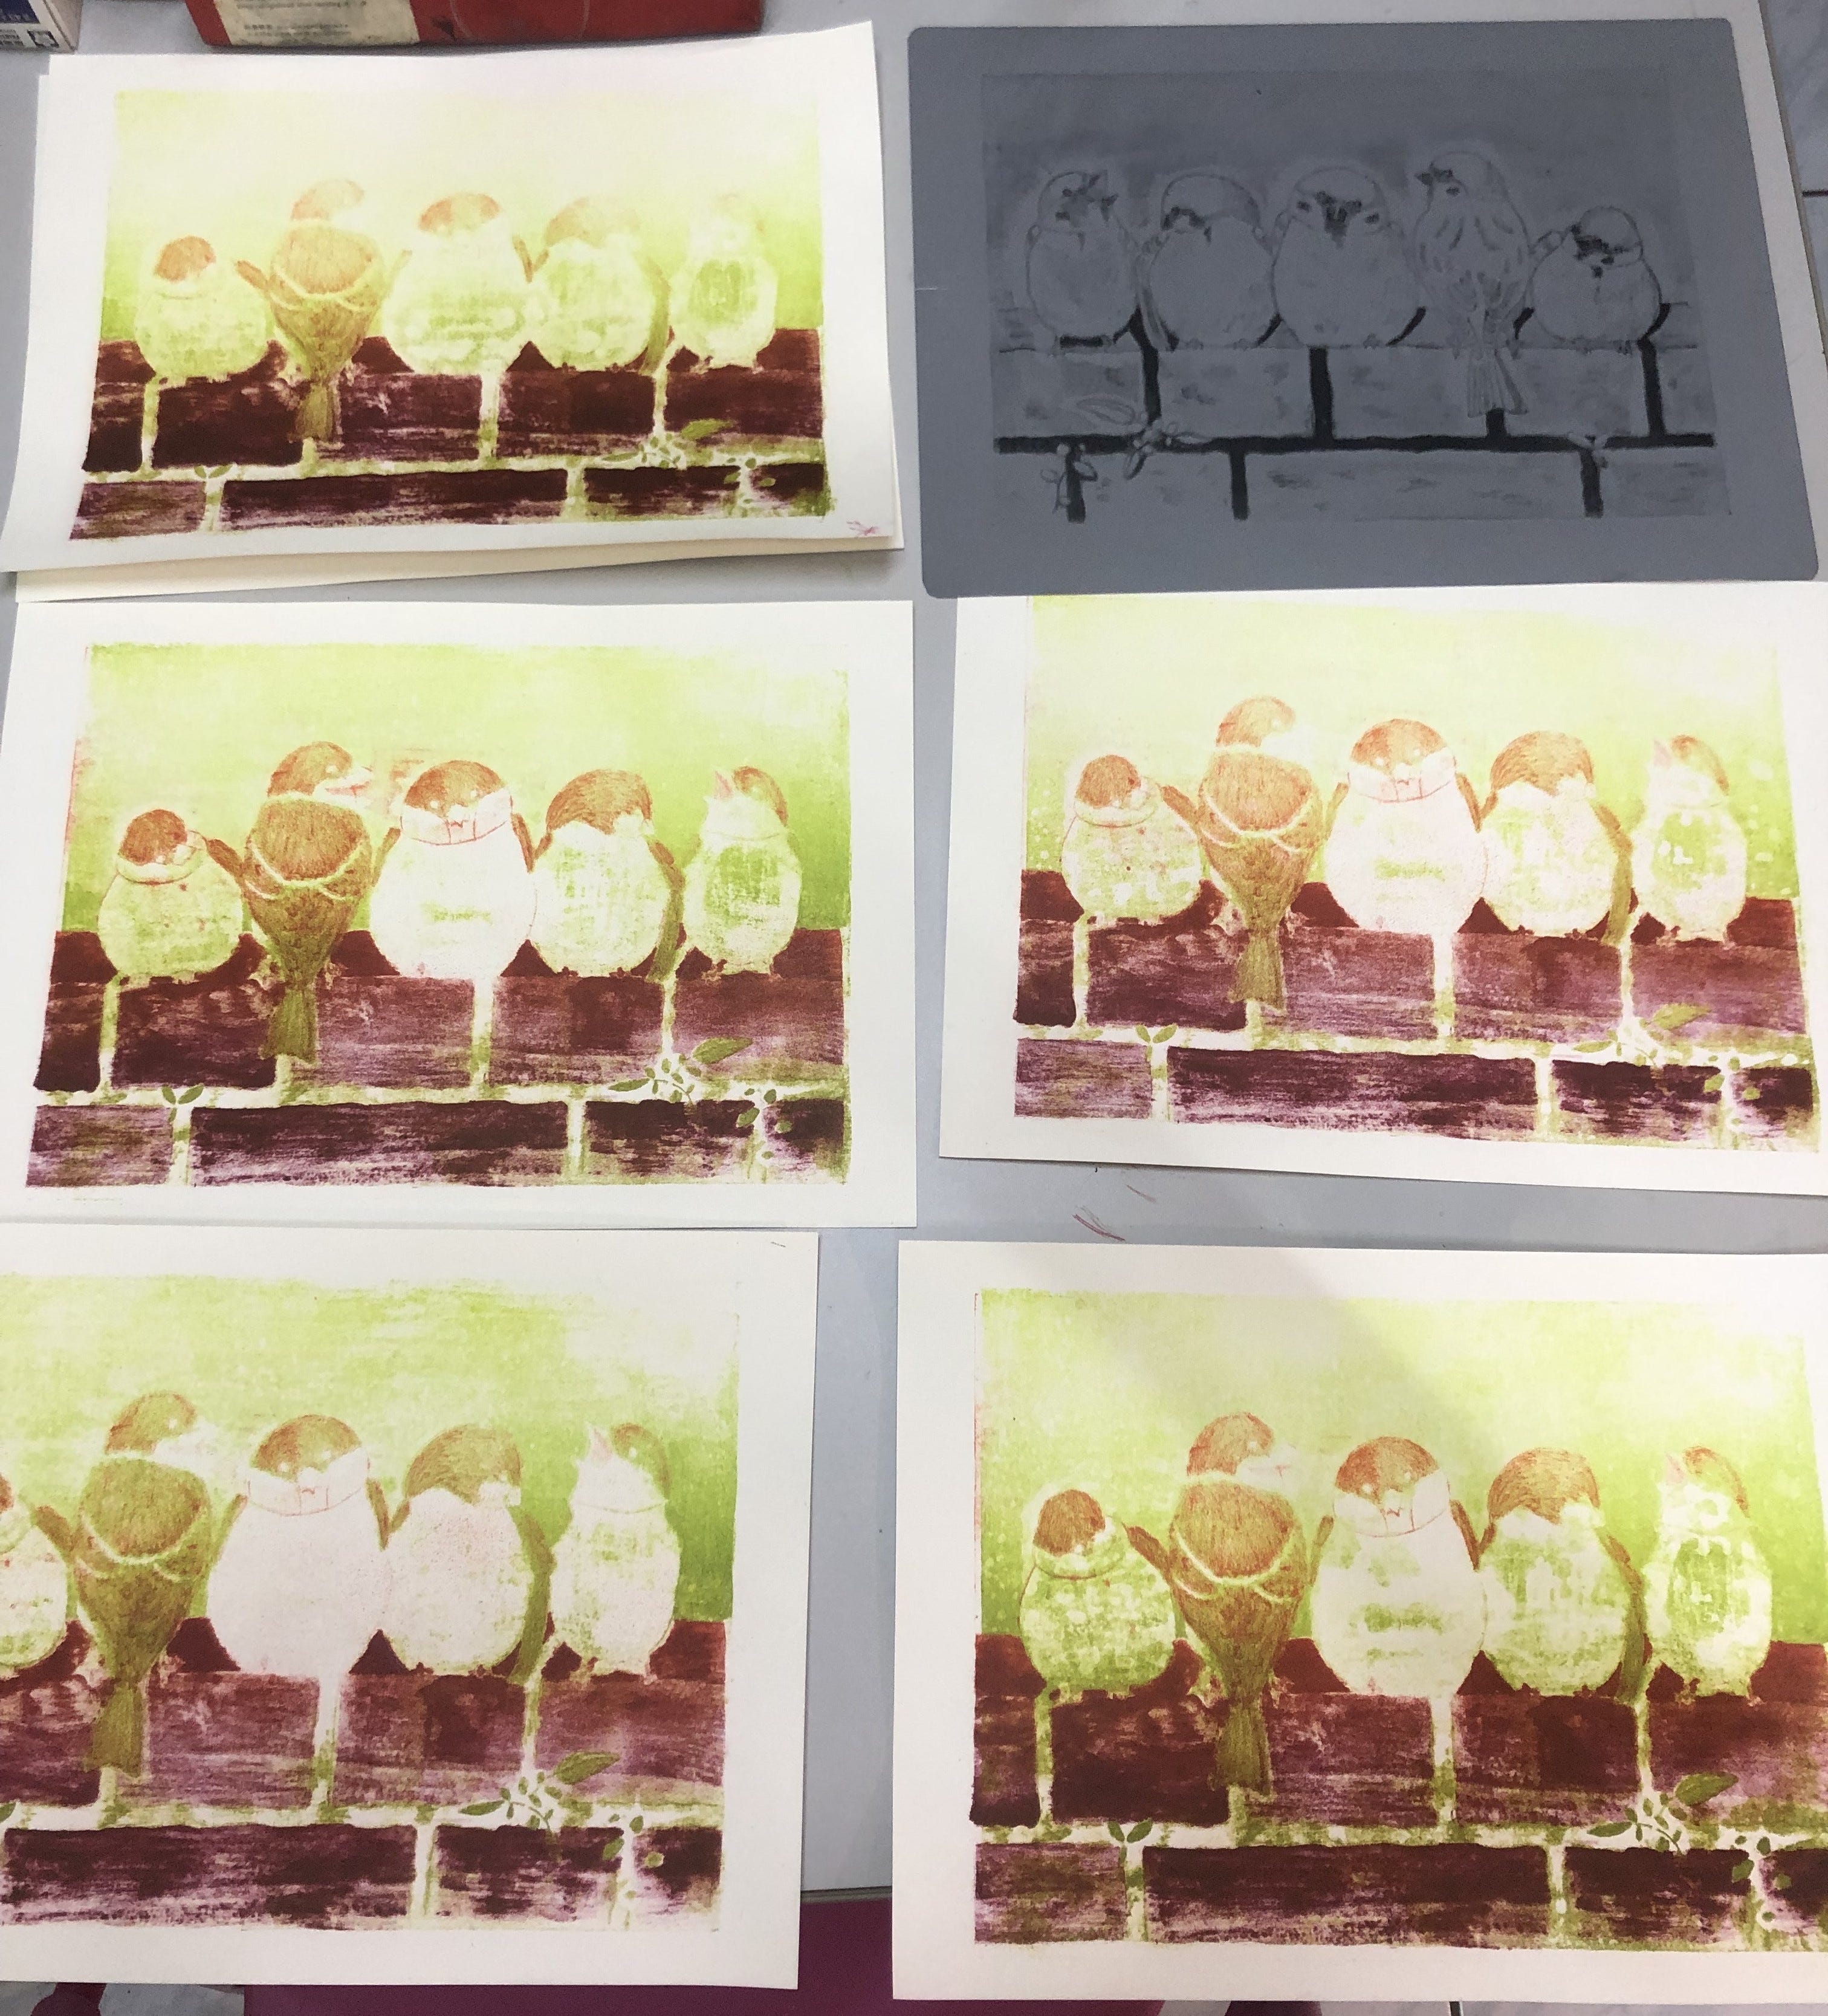
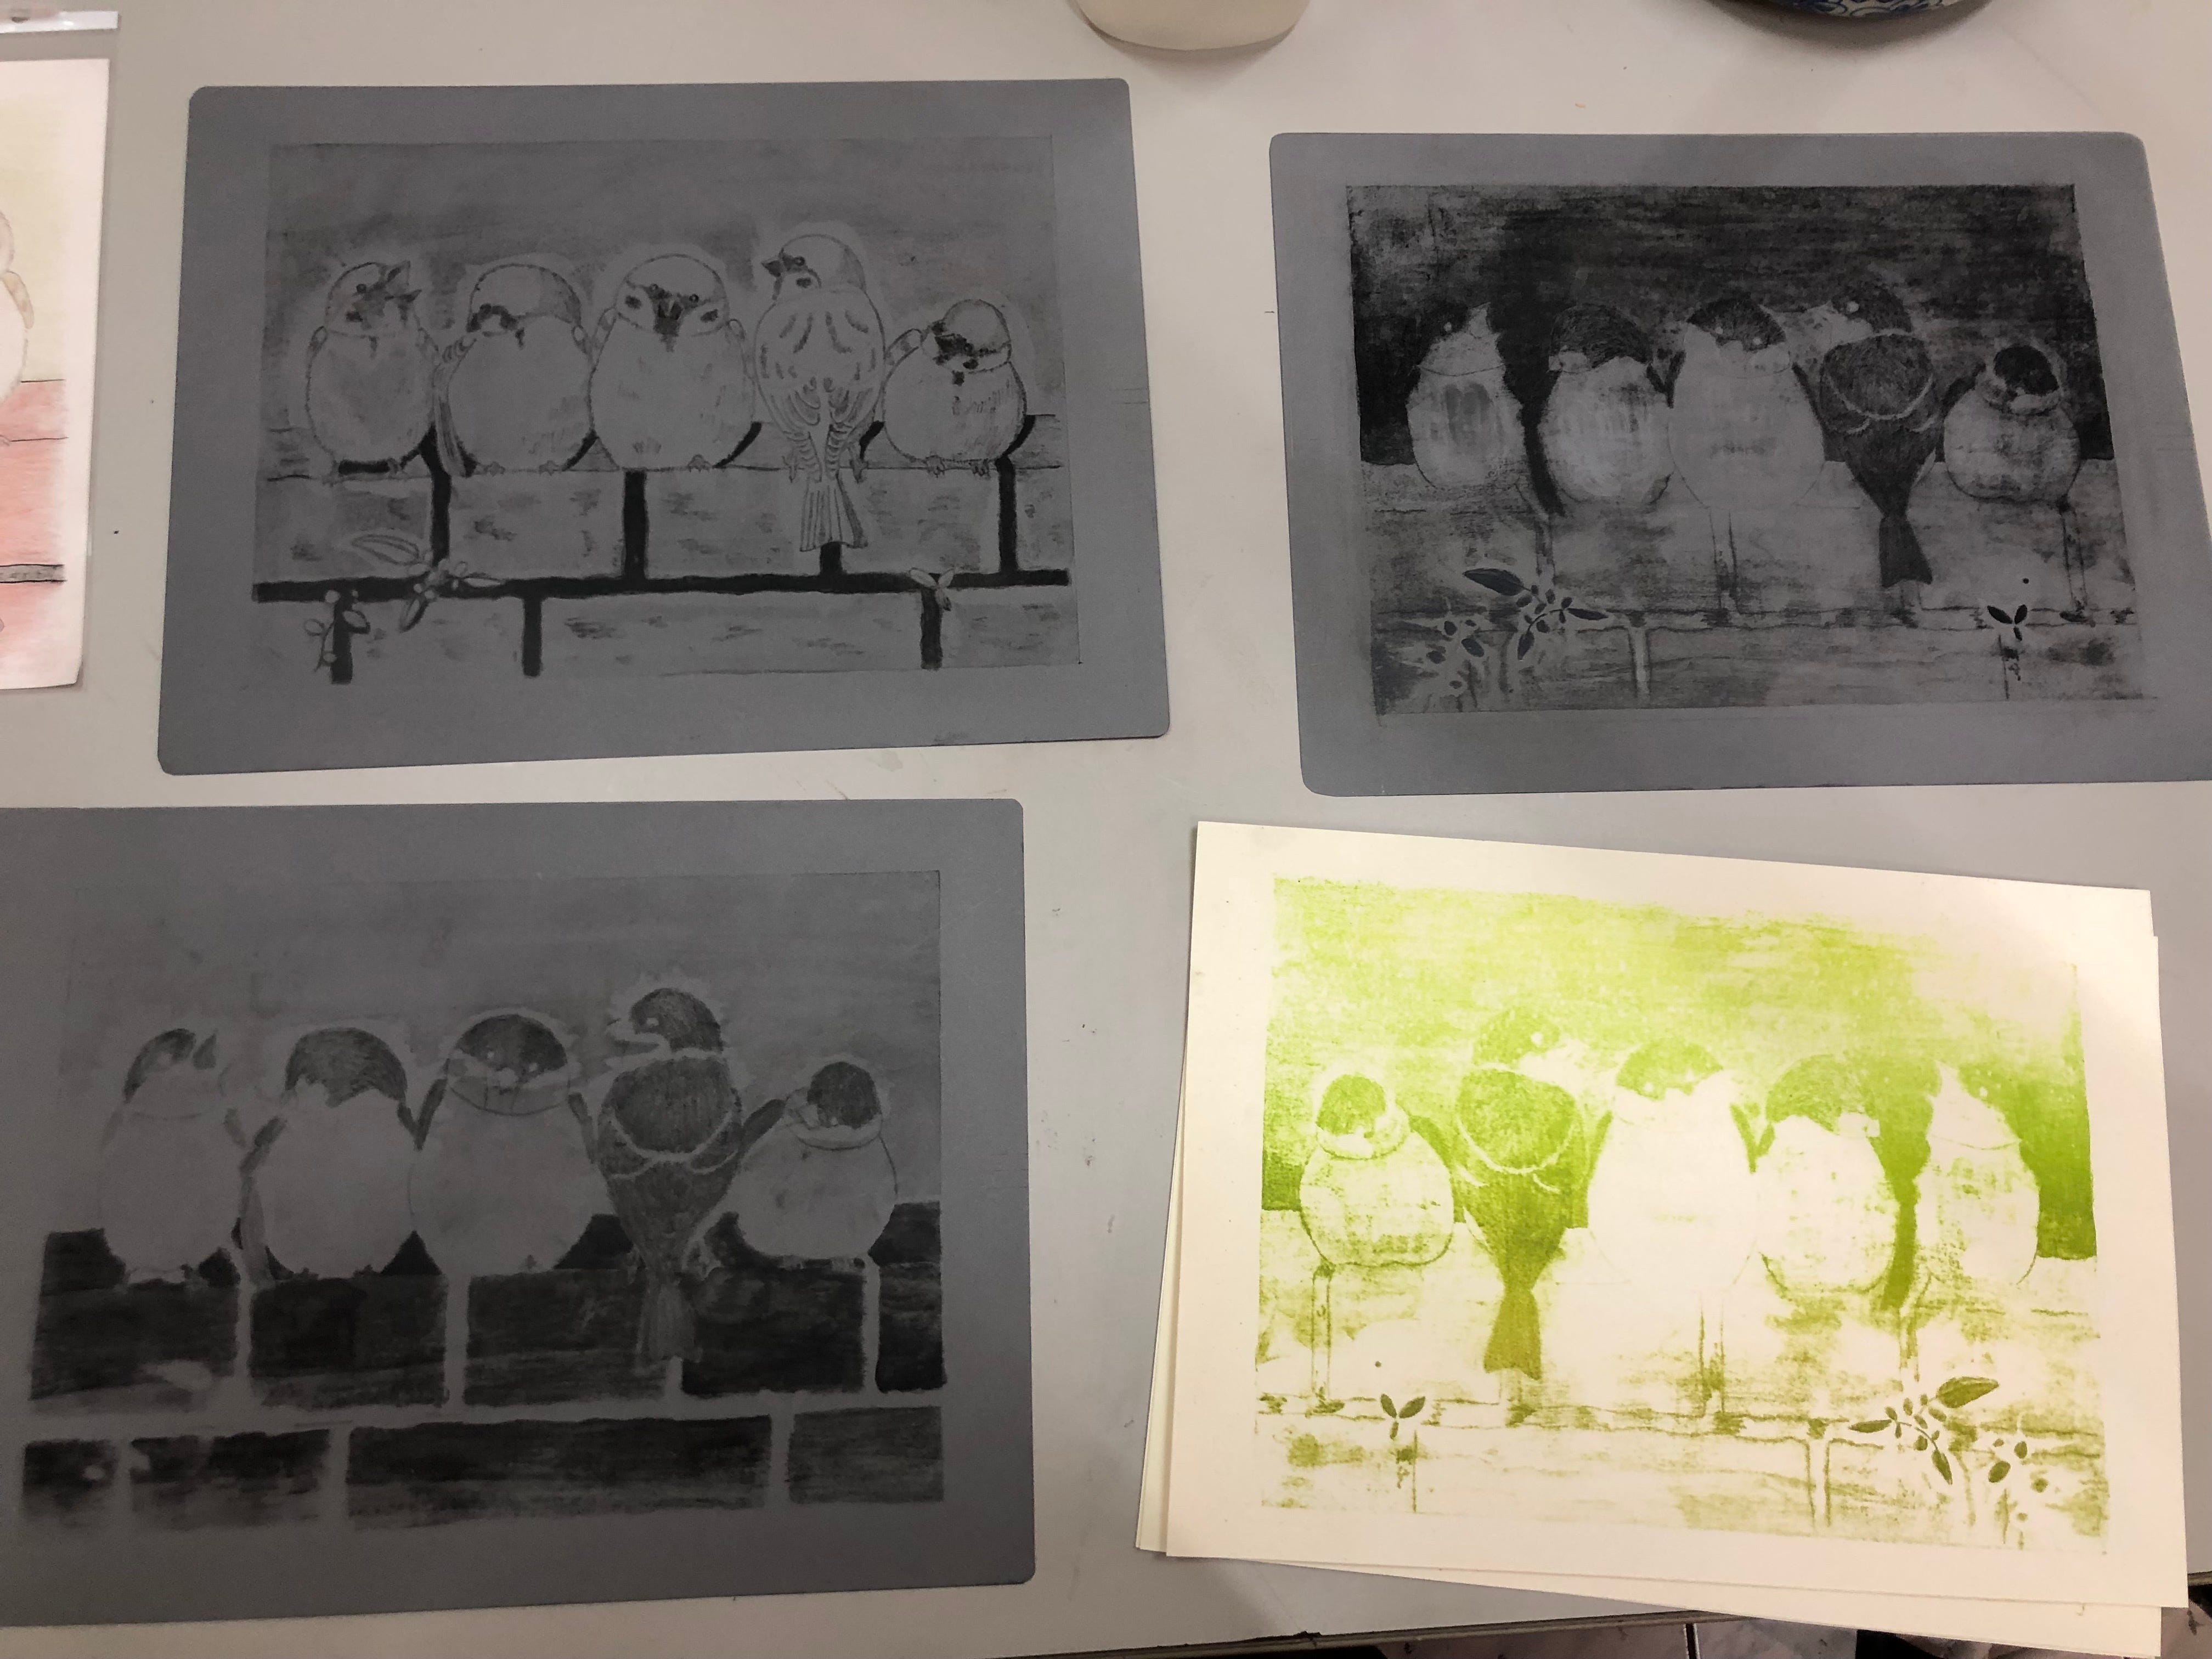
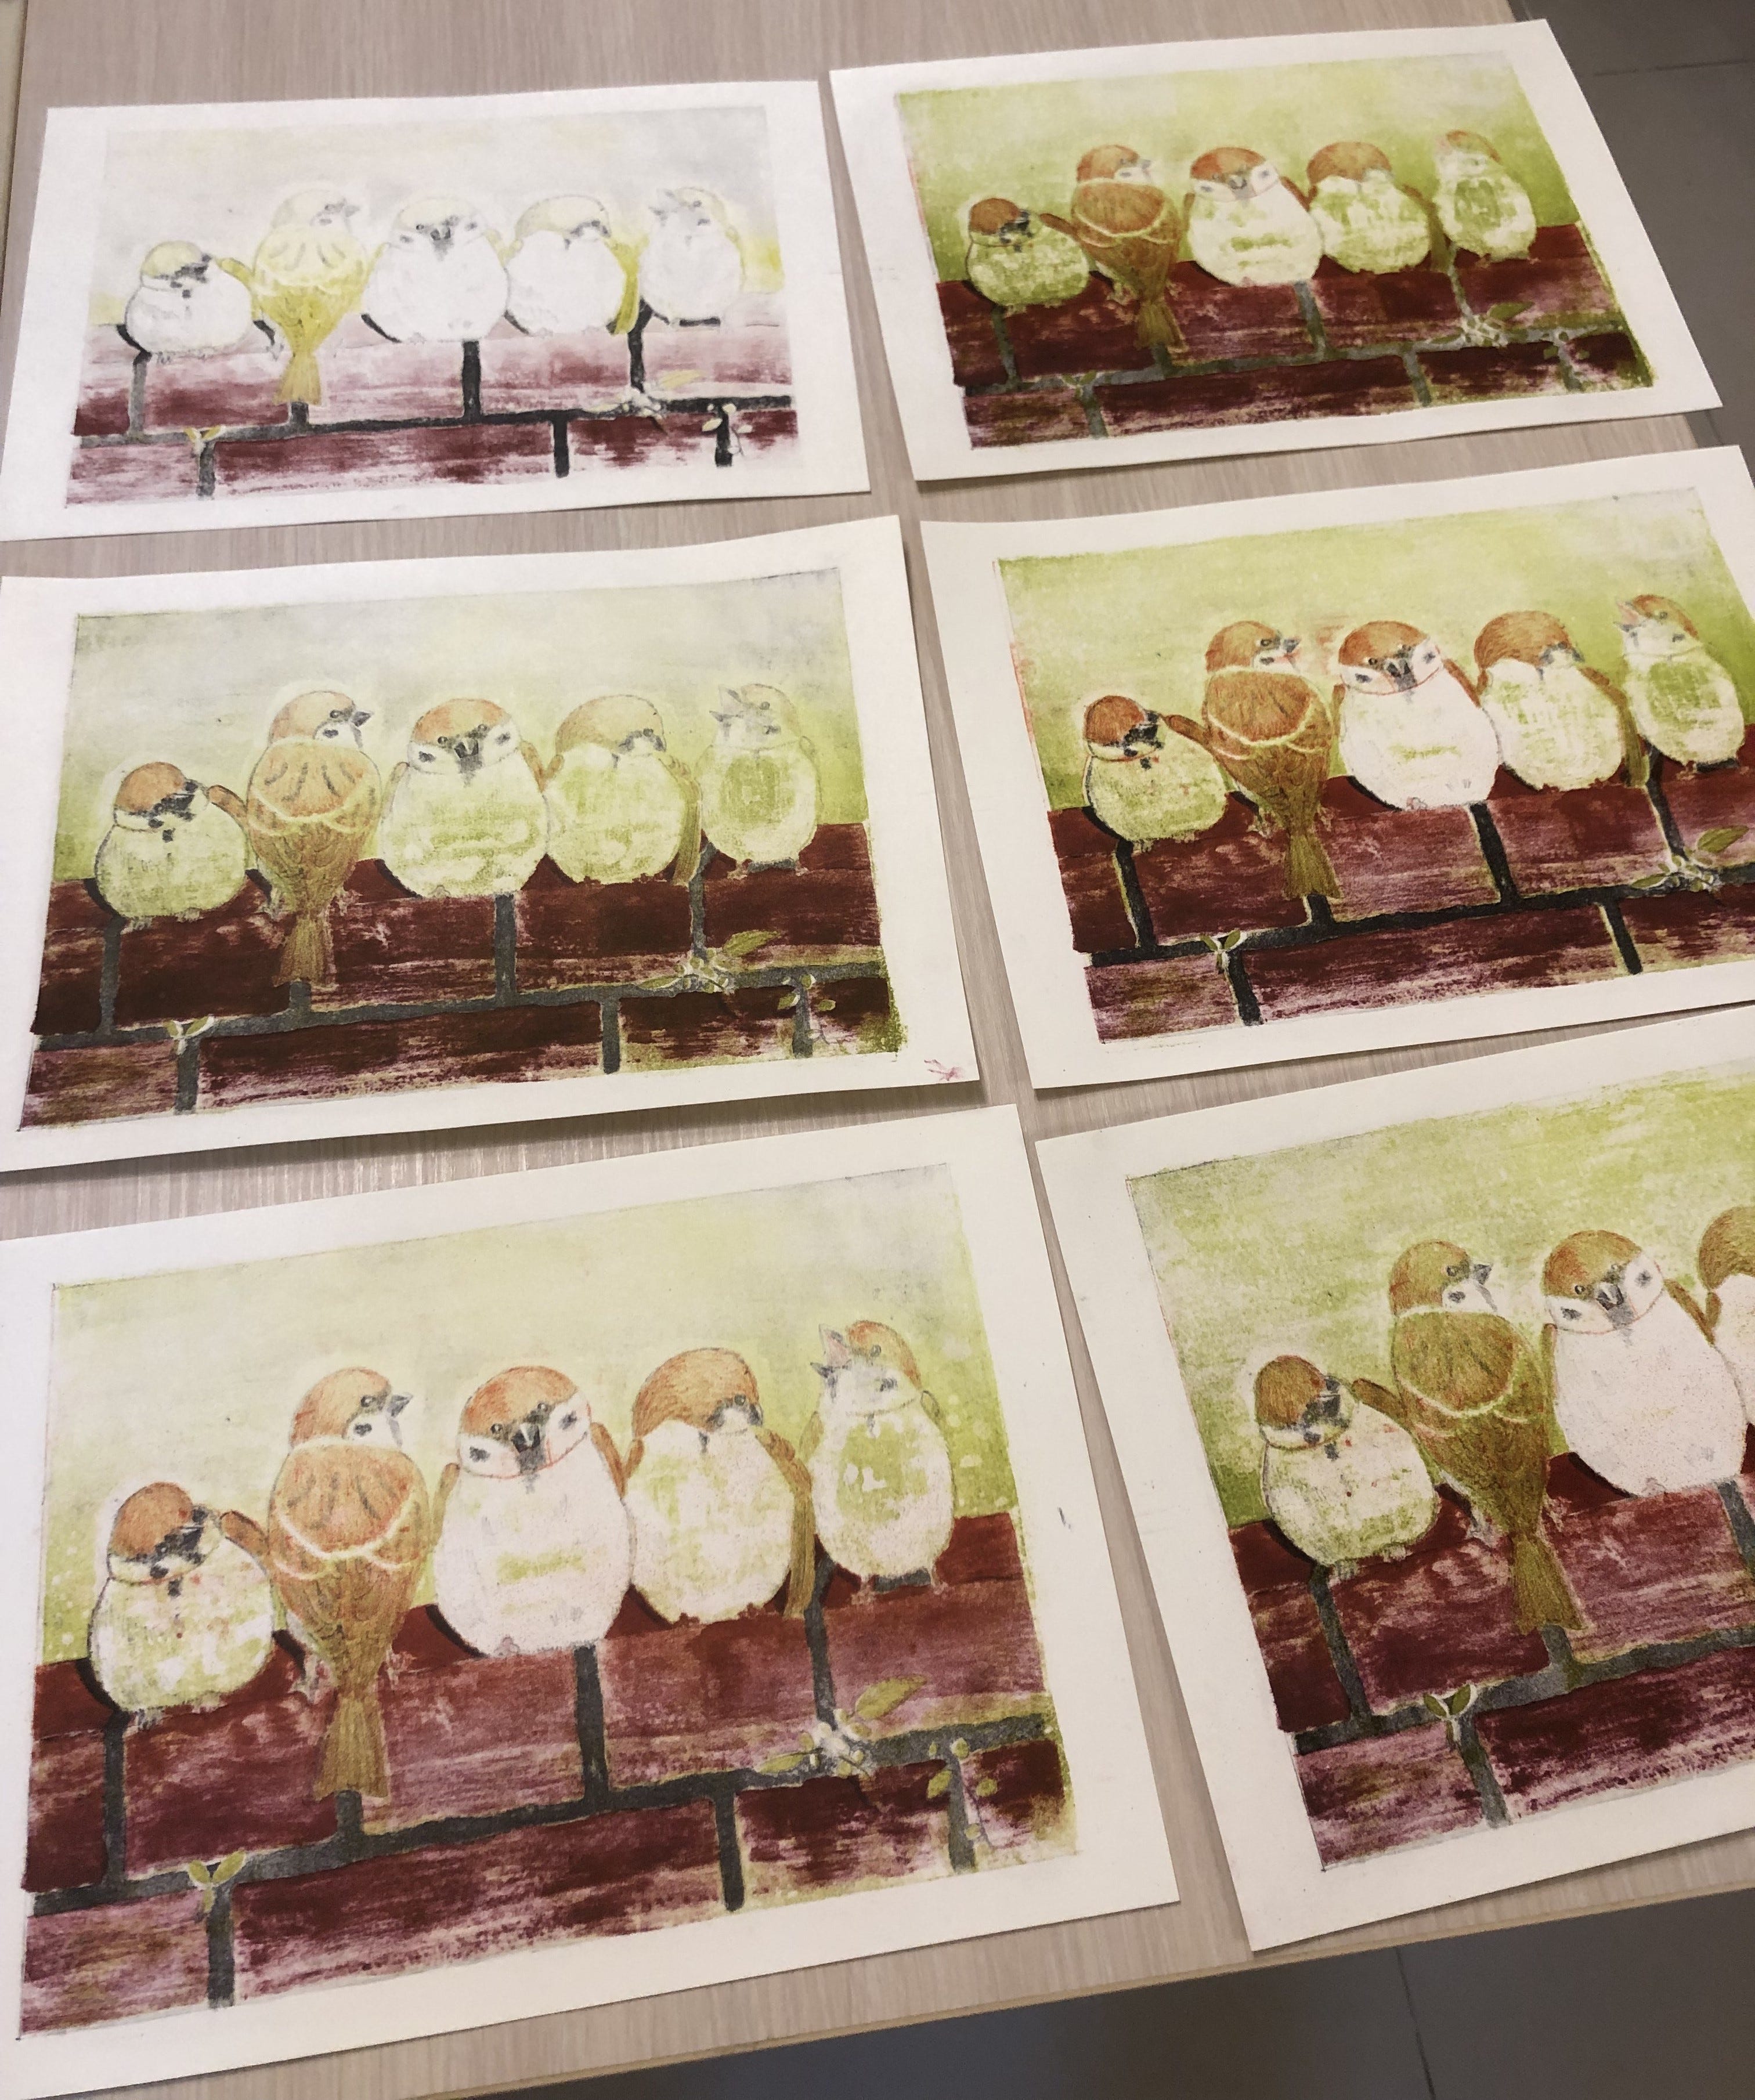
After printing each color, I had to wait for the ink to dry completely before printing the next one. As a result, the three plates were printed over three separate weeks, and each printing session involved repeating the steps of applying water, inking, and drying. I printed a total of six copies, which meant going through the printing process 18 times—yet each copy turned out a little different.
In particular, when aligning the paper on the plate, I had trouble with the alighnment mark on the green plate, which I had carved too lightly to see clearly. So compared to the other two plates, it was slightly misaligned. But that was a relatively minor mistake. The most obvious error happened when I was overprinting the main plate—I completely misaligned it once, which made the sparrows’ eyes look completely off, which was quite funny.
Luckily, I ended up with one print that I’m satisfied with, which gave this learning project a lovely ending.
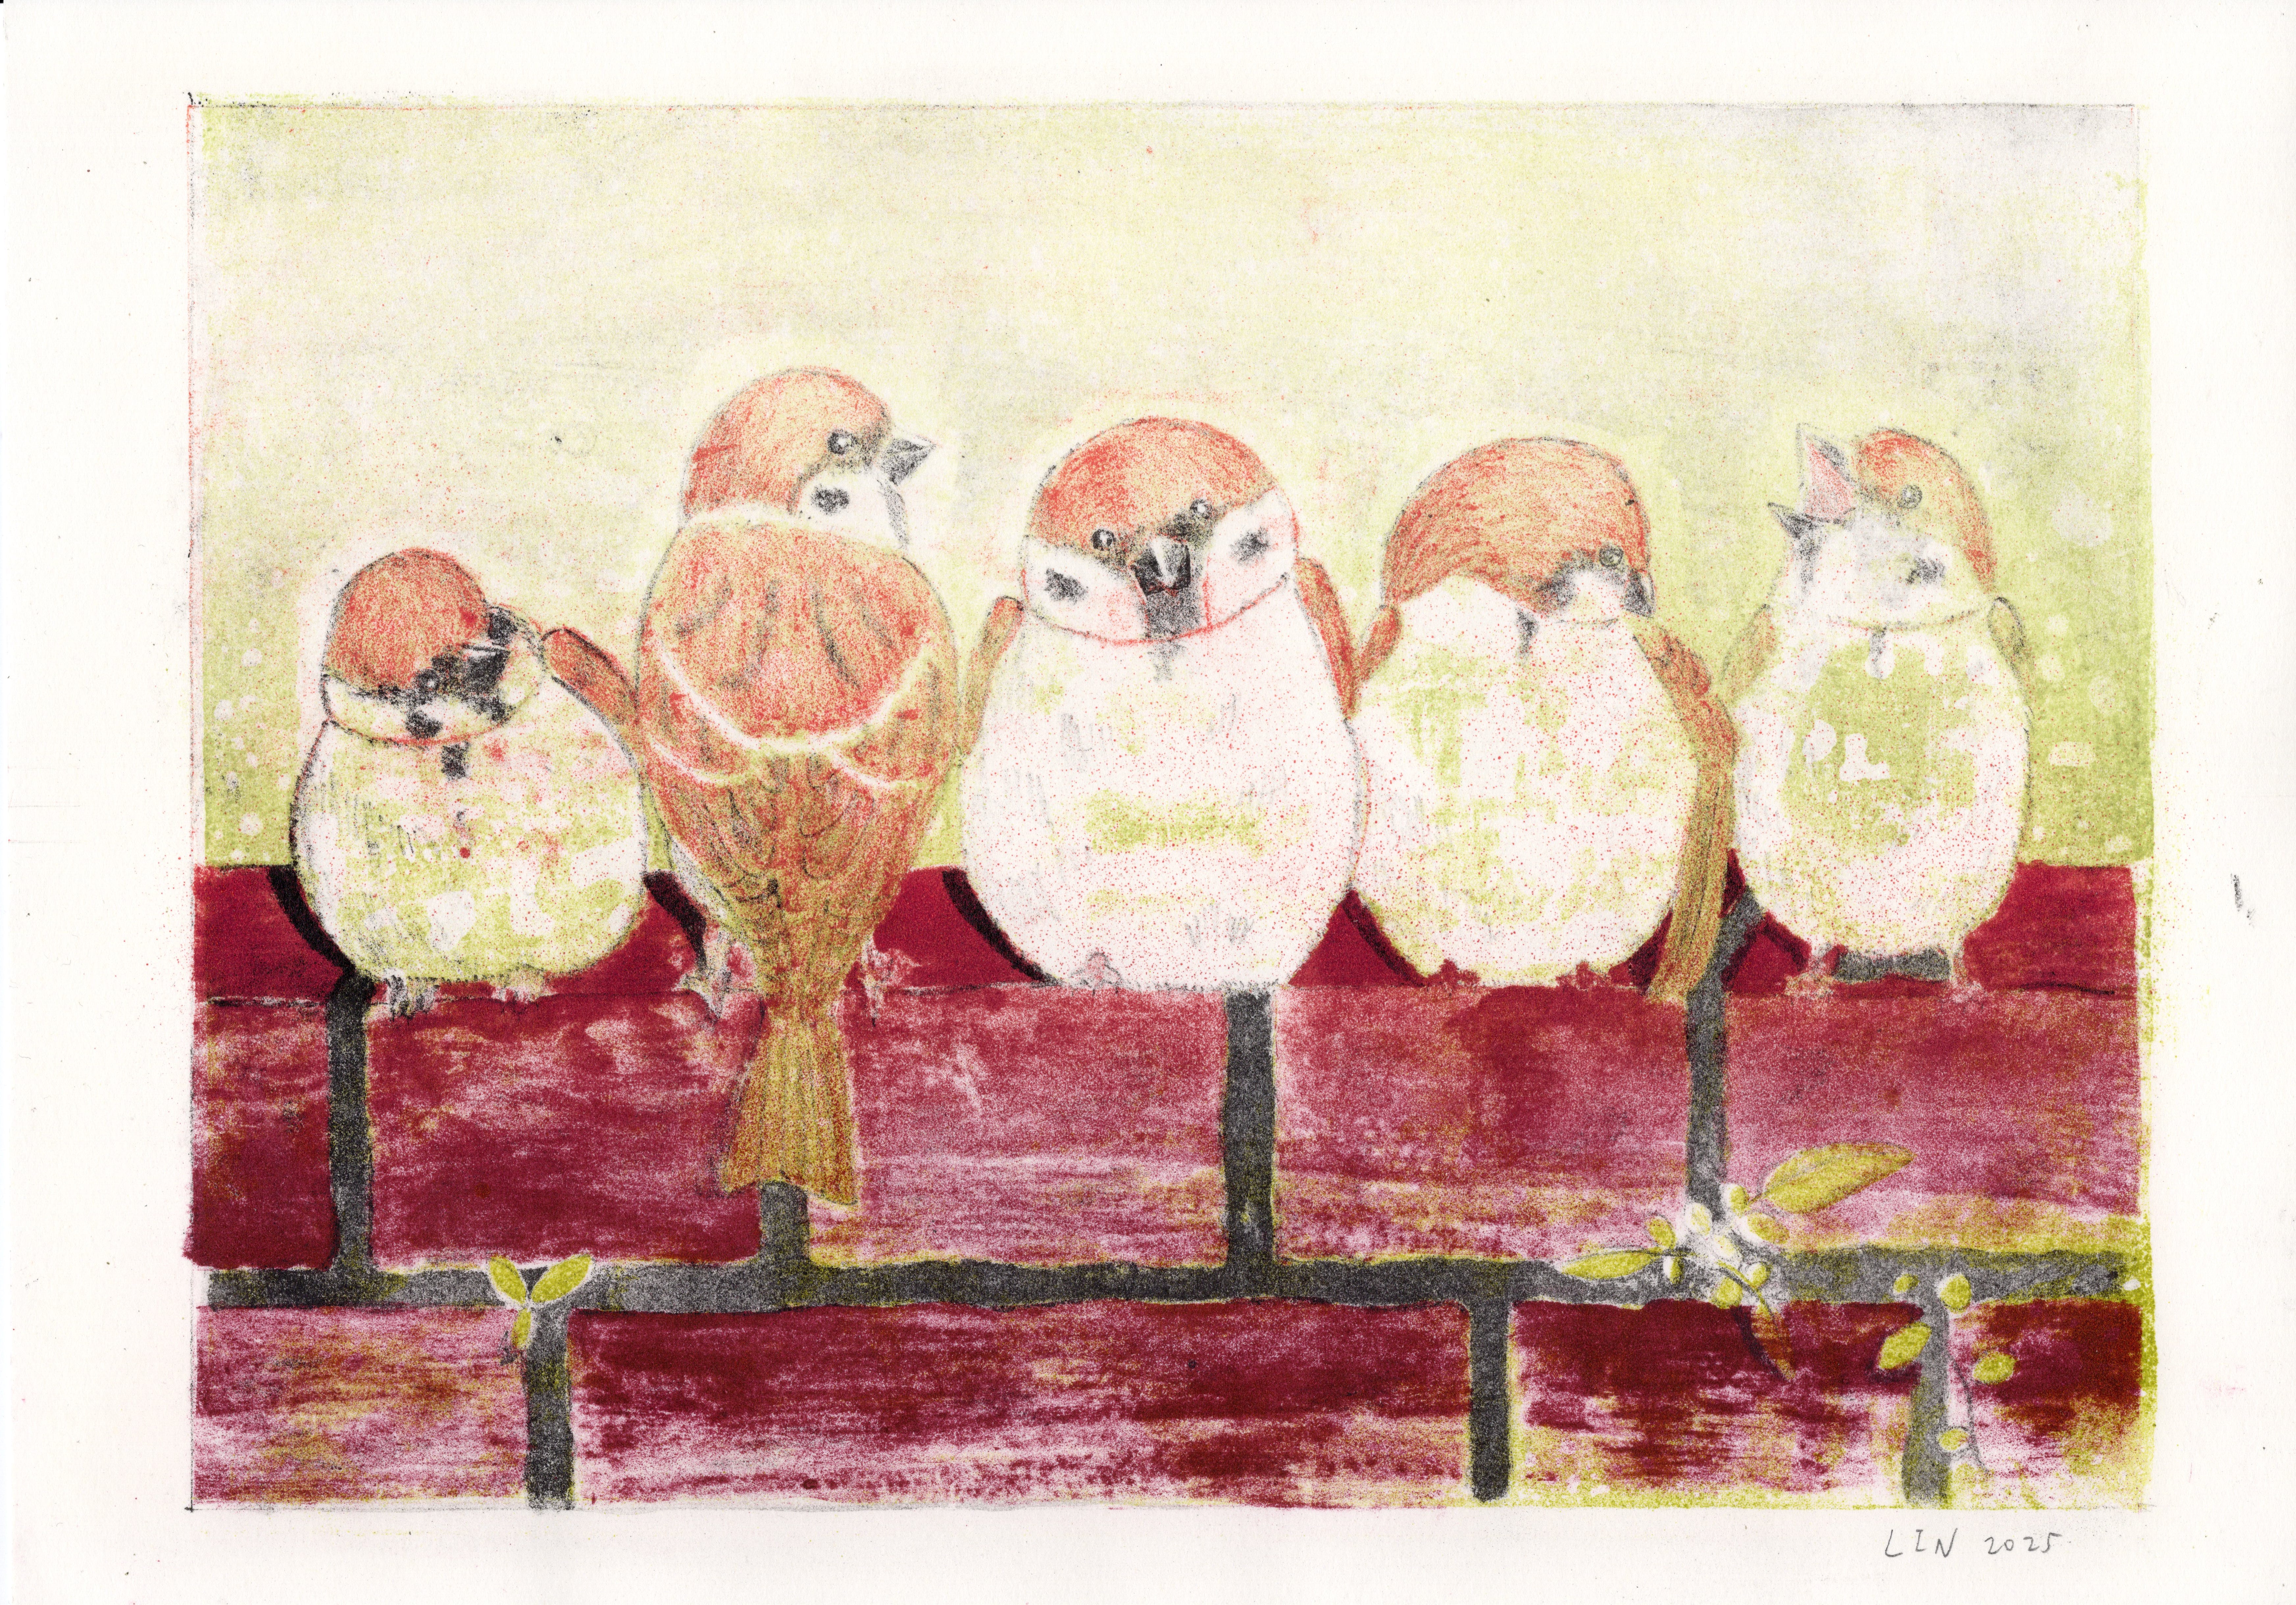
I can use watercolor to touch up the colors and fix any areas I’m not satisfied with; I'll work on it sometime later.
All in all, it was a very fun experience. Taking this class also made me realize that many artists have created printmaking works, and that there are many active printmakers in contemporary Taiwan.
A quick shout-out to the studio: I took this class at MBMore. The instructor was both professional and friendly. The first floor is a gallery with regularly rotating exhibitions, and the second floor is a fully equipped classroom/workspace. They also hold regular classes—there’s even one this Saturday! I highly recommend it to anyone interested in learning printmaking.
Ah, this is so cool! Beautiful art. I’ve always wanted to learn printmaking. ❤️❤️